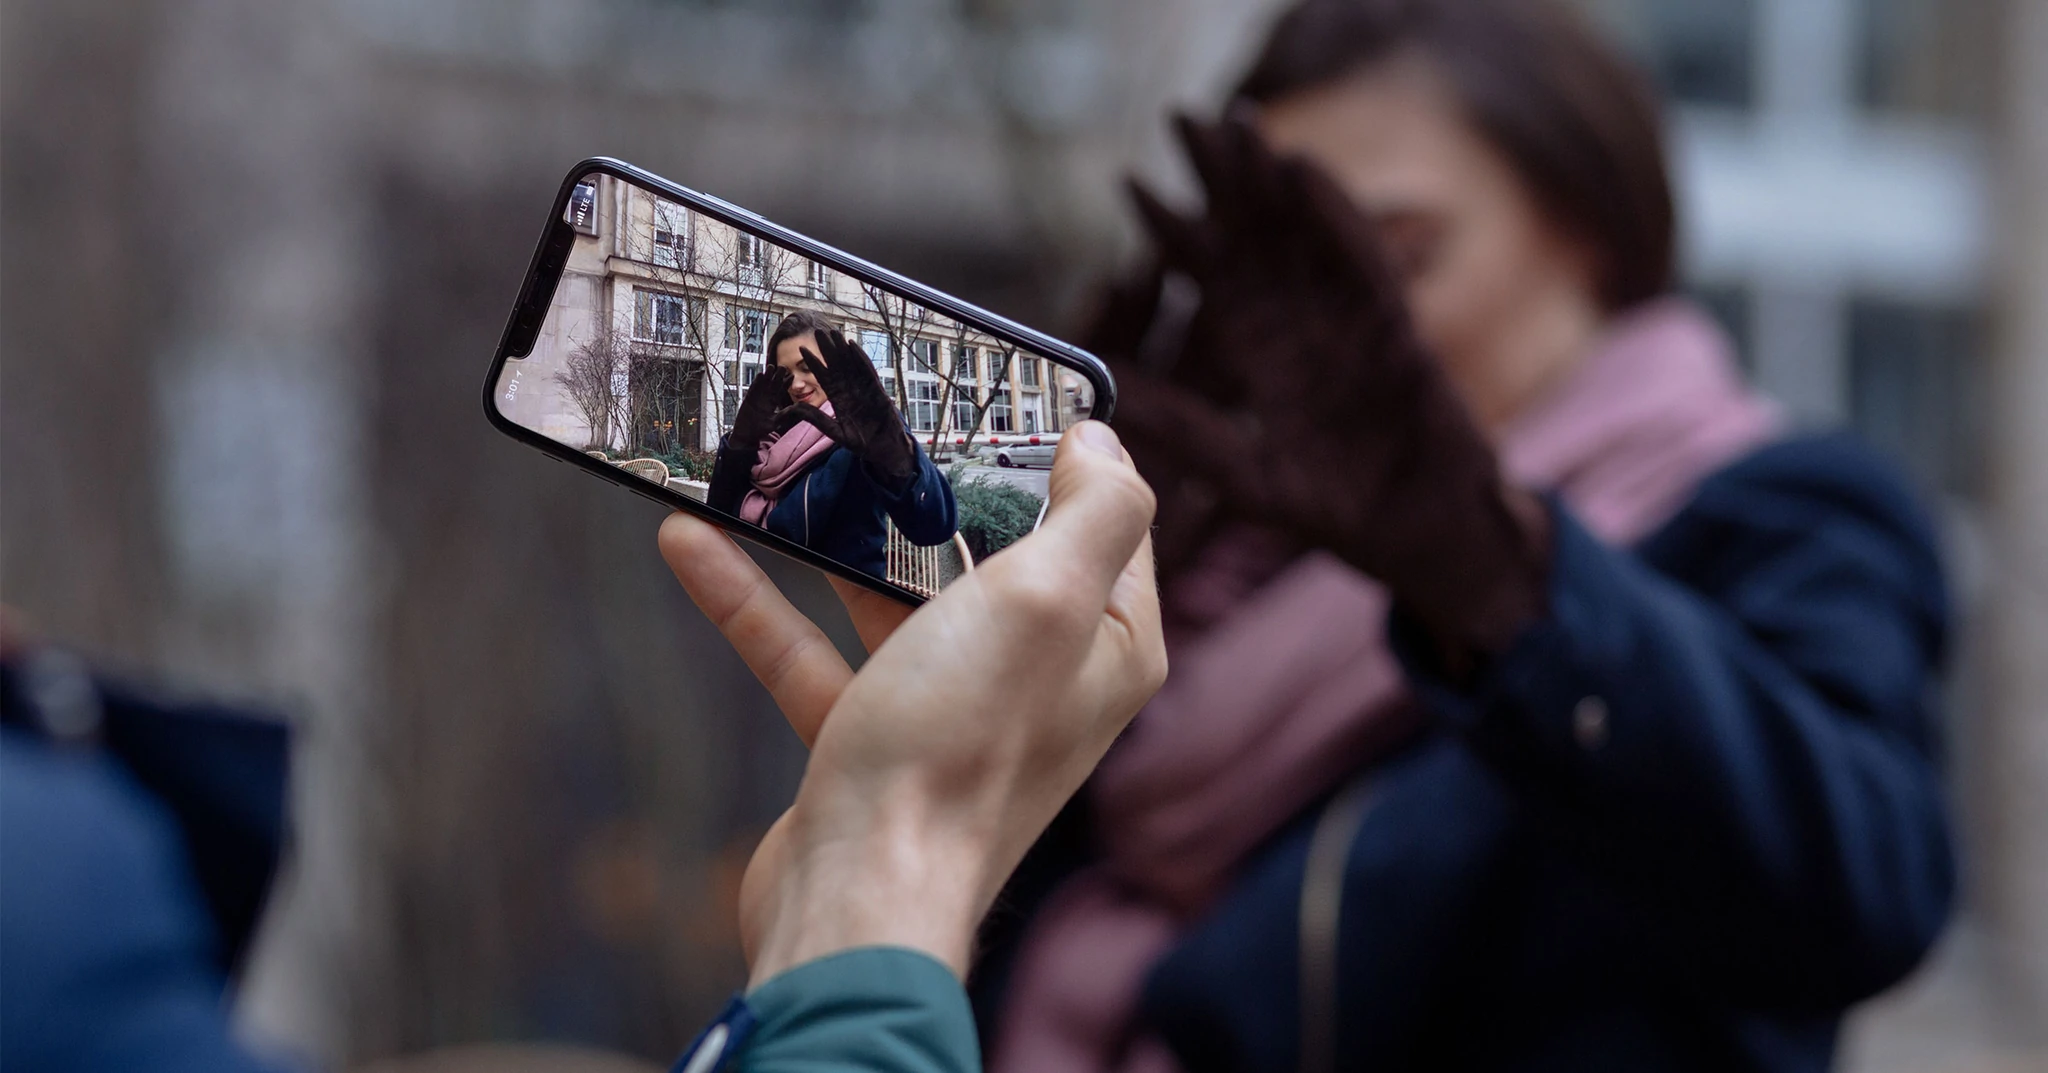
The technology of photo and video shooting is more and more improved yearly. It allows you to make almost professional pictures and do photoshoots like a pro using your smartphone.
You don’t have to be a professional photographer to shoot like a pro with your iPhone. However, if you use our simple tips, your photos will become much better, and the shooting process will be more convenient.
The number of amateur photographers has grown exponentially for several years. We shoot everything around. Many no longer think about purchasing digital cameras due to the ever-increasing quality of smartphone cameras and the huge number of photo editing programs on the market.
Table Of Contents
How To Do Photo Shoot Like A Pro With Your iPhone
Today you can get high-quality pictures and organize a full-fledged photo session even while traveling and not spend a fortune on a photographer and props. Not only amateurs but also many professionals do most of their work on iPhones. It’s convenient when all the equipment for shooting fits in a jeans pocket.
If you are the owner of the latest versions of iPhones, you can treat yourself to a themed photoshoot on vacation, for instance, in the UAE and its luxurious interior designs and outdoor furniture. What could be better than organizing a spontaneous oriental photoshoot in the desert or getting high-quality shots in some 5-star hotel with the best outdoor furniture in Dubai? Just imagine — you, luxury and modern furniture, and the rays of the bright sun.
The cool thing about iPhone photo shoots is that you can organize them anywhere, anytime, even using your home or hotel outdoor furniture as props. In this article, we will talk about what rules to follow for the pictures on the iPhone to be of high quality.
Forget the flash
If the external flash on digital cameras is configurable, the iPhone’s LED flash doesn’t have such a privilege. Therefore, it’s better to rely on natural light. Otherwise, the flash will only spoil your photos.
Make a habit of taking shots without the flash. It does more harm than good. It adds unnecessary glare and highlights to photos. It is better to set the flash to manual mode and use it only per need.
Don’t use the zoom
The iPhone zoom is digital. No matter how cool the iPhone camera is, digital zoom will greatly damage the detail of the frame. A strong increase causes excessive noise and reduces the sharpness of fine details and the quality of the picture as a whole.
Shoot without zoom, so you see the whole frame. You will keep pixels and get high resolution, especially if the lighting is bright enough. Feel free to use various modes. The unnecessary parts you can crop later.
Shoot with HDR
With HDR turned on, the iPhone takes three shots at once with different exposures and then unites them into one. As a result, photos are more saturated, and too light or dark places take on details. It is especially true when shooting at bright midday or in poor lighting conditions.
An HDR shot may not work well if you are photographing moving subjects. In this case, it’s better to turn it off and use continuous shooting mode.
Turn on Live Photo mode
Using Live Photo mode, your iPhone can take not just a pic but a video that is a few seconds long. In addition, you get not one but several frames, and you can even choose the best one from it — open editing mode, click on the Live Photo icon, and move the slider to the desired frame. Then select it as the main one.
Use the rule of thirds
Even if you didn’t study photography previously, you probably know the rule of thirds. It works everywhere and regardless of what device you use for the shoot.
The rule of thirds is a compositional guideline that breaks an image down into nine areas. By placing the main object in one of these areas and lining up vertical and horizontal lines, you will get a good shot extremely easily. Of course, sometimes you can afford to deviate from the rules and set objects as you like, but first, it’s better to learn the basics of composition.
Conclusion
We have described five standard and must-have tips for taking iPhone photos like a pro even on you terrace. For those who want to go further, third-party developers have created numerous apps that allow you to expand the possibilities of amateur photographers and make the image even more perfect. Moreover, remember post-editing, but don’t overdo it.
We wish you good luck and high-quality photos!

